Thursday, May 31, 2012

2nd Bedroom - Part 6-7-8: Drywall, Window, and Door

I finished the drywall last weekend and installed the window and door, too.  Quite the busy Memorial Day weekend.  I did the closet too even though it's going to receive a built-in cabinet (like the living room shelf) because I wanted to minimize draft and also provide for the possibility for using the closet as a real closet some day in the future.  I also put some screws in the ceiling.  There were a few nail pops and the screws make me feel better.

Here's a photo of the closet.   And a SketchUp concept of what the built-in will possibly look like.

The window wasn't all that hard to install.  I first cut away the siding so that the window trim can be installed later.  Then I inserted the window and nailed it in place (with a bead of silicone between the flange and the sheathing). It's really nice to have the window in after a month of not having it in.  Much warmer in the room now.


This is the first time I've hung a door.  It was a little fussier than I'd hoped.  But I didn't really know what I was doing either.  I read a little about it first and promptly nailed/locked myself out of the room by using a 2x4 as a stop on the interior (this kept me from being able to open the door).  I took out the two nails I'd just hammered in and used a different approach.  I put a door lever on so that the almost-three-year-old can come and go as he pleases.  He likes the door a lot.


Mudding is next.  Then paint.  Then the floor.  Then the trim.  The built-in will happen sometime.  I have to draw it first since I'm probably going to have the panels cut for me by someone else.

Wednesday, May 30, 2012

2nd Bedroom - Part 5: Insulation (Walls)

One of the big pluses to remodeling the second bedroom is that there is now going to be insulation in the walls.  There will now no longer be mold growing on them in the winter.  Hopefully.  I installed R-15 on all the exterior walls.  I also installed R-13 on the interior walls to aid in sound dampening (and temperature, too, since the house is a bit drafty).  The R-13 is four times less expensive than the R-15.

Code for new walls is R-19.  That means that the walls need to be 2x6 and not 2x4.  But this is just "repair" work and not new construction.  There a way to get R-19 in 2x4 walls and that is to use the styrofoam board insulation (it's usually pink, but I think I've seen blue as well).  I might do that on the additions of the house since I'll want to build the new walls to match the existing walls (so that the windows and doors all look the same).

Anyway, here are some photos of the insulation.


 I'll be putting new insulation in the ceiling and the floor as well.  But that will have to wait.  The rush right now is to get the living space livable.

Saturday, May 26, 2012

And Some More Flowers

Here are some more photos of flowers at the rat-hole.  The rhoddy is in bloom.  Such a pretty shade of lavender.

And here different sort of flower.  The mushrooms/toadstools that pop up are very pretty.

And the seed head of a dandelion.

And the mutated poppy.  There were only yellow when we moved here.  Now there are a handful of orange poppies.

Monday, May 07, 2012

More Spring Flowers

Here are some more photos of flowers in the yard. This is a weed.  Or maybe some sort of wild flower. But the flowers are really gorgeous!

This is not a weed, but I don't know what kind of flower it is.

And the yellow poppies are back.  So many poppies!

By the way, I've installed one wall's worth of insulation so far. It might go faster than I expected.

Sunday, May 06, 2012

2nd Bedroom - Part 4: Electrical

I finished off the electrical today. I ran wire from the service panel to the second bedroom for one new 20 amp circuit for the lights at the six outlets as well as a new line for the 240 volt baseboard heater.  All of the old wiring is in such bad shape that when you touch it the wire casing disintegrates off of the wire.  I removed both old outlets (both were ungrounded).

The north wall is where I came down with the wires to the thermostat, the light switch, and the first outlet.  The top box (at 60" high) is the thermostat.  The middle box (at 48" high) is the light switch.  The bottom box (at 15" high) is the first outlet.  The first outlet is a GFCI since one of the outlets is going to be on a "wet-wall."  The light and light switch were the first things I wired since, well, I needed light.  I'd cut the old light switch wires when I moved the doorway.  And i let the two-year-old flip the switch for its first time on.  He was very excited!

North Wall

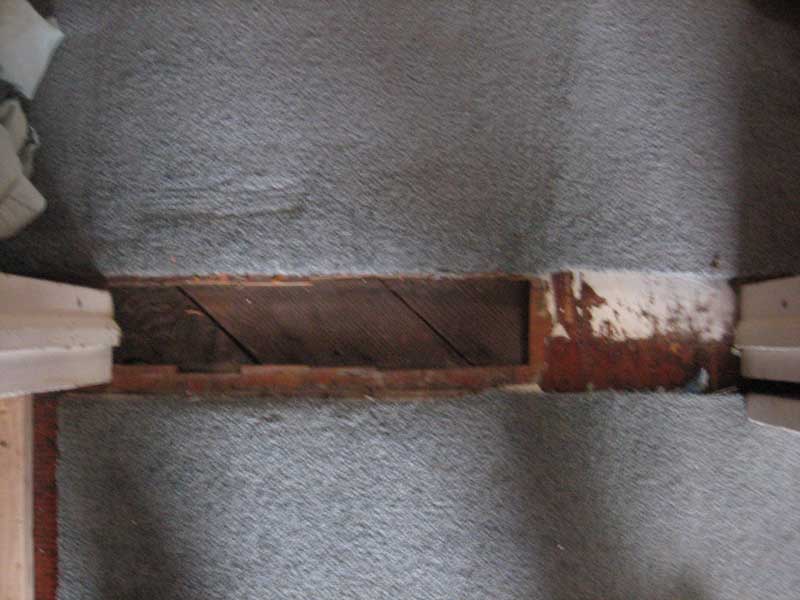
The old light didn't have a J-box, just two holes in the drywall.  There's a 2x4 above the ceiling for the fixture to screw into.
Old light location

I cut a new hole in the ceiling (so that the new light will be centered in the room now that part of the room is being absorbed into future bathroom and closet space).  I installed a new J-box, too.
New light location

I'm not rolling over and over about the new light.  But it's nice enough.  And we can swap it out at any time in the future.  I'd like to put cans in, but a dome light is more efficient since it spreads the light.  I think the two-year-old will appreciate the extra light when he's playing in his room on gray winter days.
New light

The east wall has two outlets.  It also has an empty J-box for future phone/data.  I ran a length of 3/4" conduit up to the attic space (with a cork in it to seal it) so that I can get to it any time.  I wonder if I'll ever use it?  The box will get a blank cover after the drywall is installed.
 East Wall

The south wall has two outlets as well (one on either side of the window).  The baseboard heater gets installed under the window and outlets aren't allowed to be over the heater.
South Wall

The west wall has only one outlet.  This wall will eventually have a bathtub on the other side of it.  I considered putting in another outlet on the right side of the closet, but the new door will cover that section of wall when open so it didn't make much sense.
West Wall

I've already brought both the wall insulation and gypsum board into the room.  Now all I need is the time to install them.  Having the last nine days available to concentrate solely on the demo, framing, and electrical has been great.  And my spouse really enjoyed her week off of work to play with the two-year-old.  Hopefully I can grab a few moments here and there to finish up.

2nd Bedroom - Part 3: More Framing

 The east wall was pretty easy to reframe.  I just popped out the old window, framed it in, and then installed some 3/4" plywood sheathing on the outside.  I was really lucky because the hole to fill was 48" wide (the width of the plywood) so that's one less cut to have to do.  I also cut some sheathing for the spot on the south wall that needed it.  By the way, I had to do all of the wood cutting in the rain.  At least it wasn't cold.  Sawdust is kind of funny in the rain.  Instead of making a dusty cloud, it makes a sticky sludge on your wood.


 The north wall was the trickiest wall to reframe.  This is mainly because I wanted to save the door so I could control access and minimize debris going out into our living space.  I'm not reusing the door in the long term for the room, just until the new door arrives.  I pinned up a sheet to contain the sawdust when I was using the reciprocating saw to cut the plywood and the nails holding in the door frame.  I screwed up some old drywall scrap on the outside of the room to close off the remainder of the wall and then framed in the old closet doorway.

The inside of the room had gypsum board.  The outside of the room had 1/4" plywood covered in wallpaper (three layers, and painted burlap).  Here's a photo of what I found on the back of one of the plywood.

Here's a photo of all the finished framing on both the north and east walls.

There's a small area in the new doorway that's going to need flooring.  I cut out the flooring in the old closet doorway with my Dremel Multi-Max and will save it for when I get around to doing flooring work.

 During all of this reframing work, I also made a trip to get some insulation for the room.  I love the bungee spiderweb that we have for holding loads together.  It was perfect for the insulation load.

Now that all the framing is done, I get get to run new wire for all the outlets, lights, and baseboard heater.

Wednesday, May 02, 2012

2nd Bedroom - Part 2: Framing

Now that the second bedroom is cleared out it's time to get to work!  The weather cooperated and didn't rain on me while I transported the materials.  Remember the 780 pounds of gypsum board I removed?  Well, I bought 670 pounds of new gypsum board to take its place.  Thank goodness for Ultralight Sheetrock.  It's the new standard and weighs 30% less and is stronger than the old stuff.  Still... carrying all that weight was not friendly to my back. (A hot shower, some time on the BodyBridge, and some ice packs made it happy again.)

The first work I did was to frame the new wall and closet space.  The spaces on either side of the closet are for future expansions of the bathrooms (they're so small!).  Since these walls are not load bearing I only used a single 2x4 on the top.  I spaced the studs so that I don't have to cut the wall board (width) and can just screw it in place.

Reframing the window was a bit of deja vu.  It was just like when I reframed the window in the kitchen nook.  There's a little sheathing that needs to be installed, but I'll do that tomorrow when I take out the other window and put sheathing in its place.  And have I mentioned that I love my reciprocating saw?  It is a tool no remodeler should be without.  I call it my light saber since it cuts through anything (very handy when cutting holes in walls).

The new window is going to be so nice!  It will let in a lot of light, which is a good thing since the other window is going away (a future room addition means the other window needs to be a wall).

I attack the east wall and the interior north wall tomorrow.  The north wall will be tricky since I want to maintain some access control to minimize toddler exploration.