Saturday, July 30, 2016

Framing

The framing went pretty quickly. I think the majority of it was finished in about three days.

The west wall of the carport was an event. The entire crew used the wall to lift the roof (which has sagged over time). One of the contractors ran from rafter to rafter and pounded the wall into place with a big sledge hammer as the wall was tilted into place. The roof is now almost two inches higher on the outside corner. This means that the gutter probably flows the other direction now.

The framing on the SE corner bedroom was only tricky in that the roof tie-in had to be thought about. The workers also ran out of header material and decided to use half of the old beam that had originally been in the living room as the header above the south window. The house is probably happy to have the beam back.

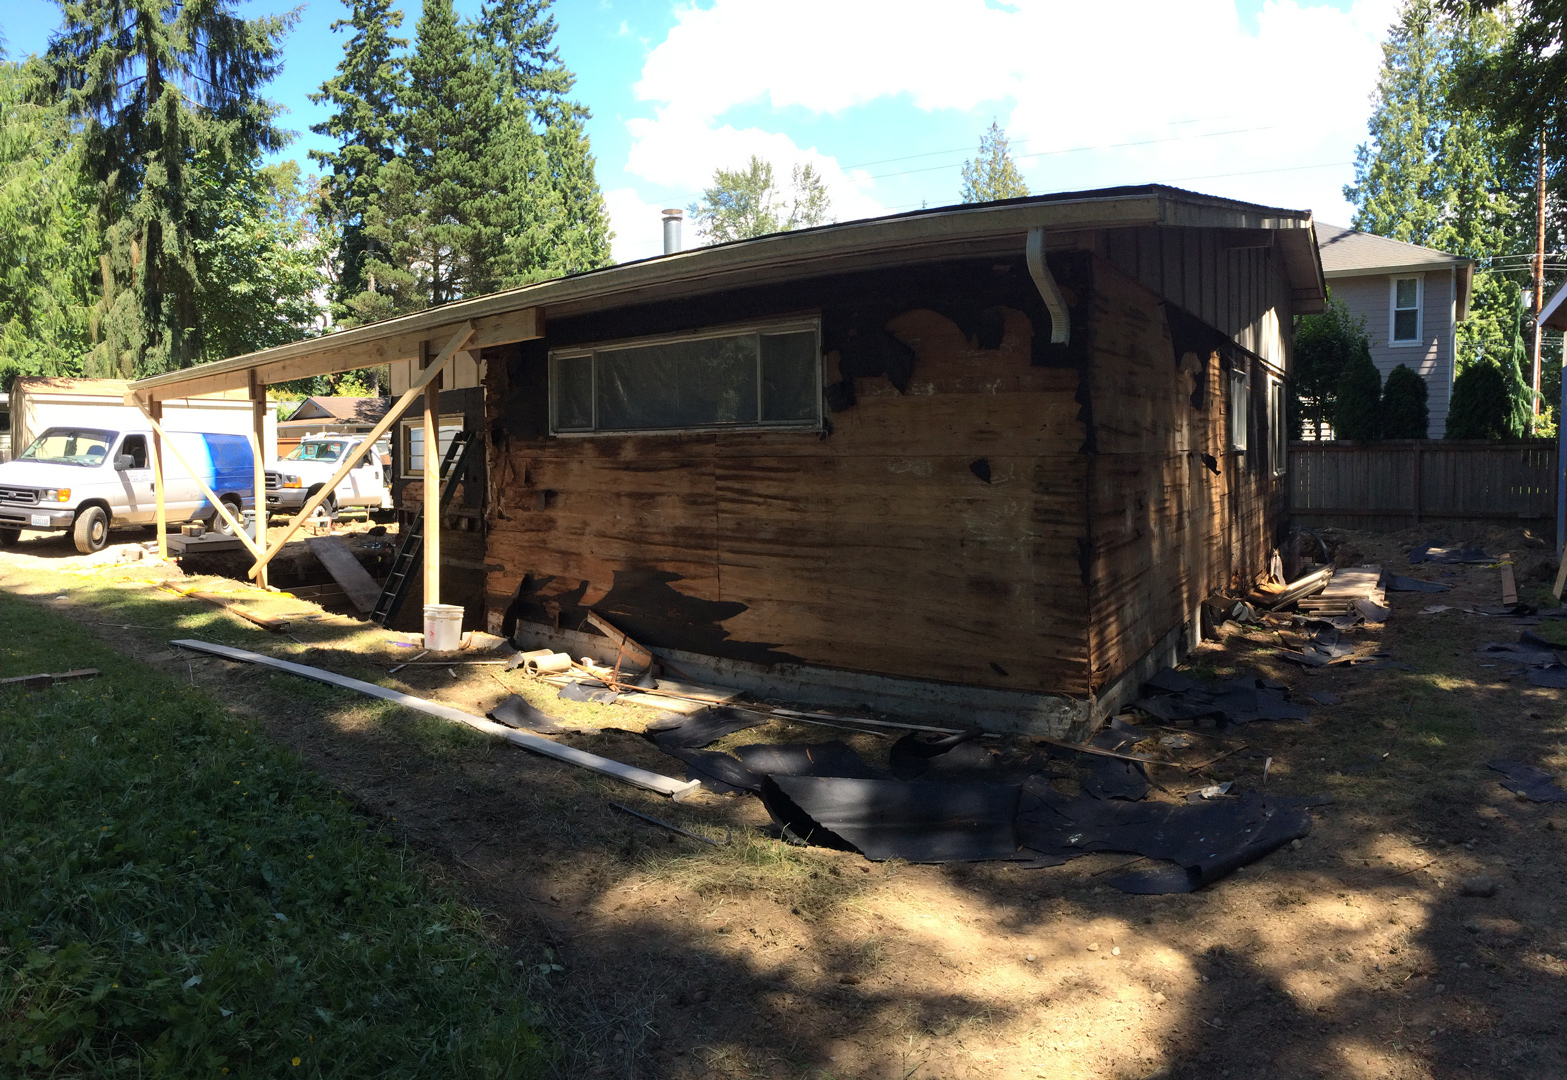
Here are photos of the floor, walls, and roof.

Old Hand Painted Flower

The contractors had to remove the drywall in the entryway in order to repair some rot in the wall and floor. There was some sheathing under the drywall and we found a little hand painted flower on it! The flower probably dates to the late 1930's or early 1940's when the entryway was a back porch. We're going to keep the piece of wood with the flower on it. Maybe we'll frame it and put it back in the entryway!

Miscellaneous Work

The existing French doors needed to be moved to make way for the new subfloor so they got put in the shed. The contractor was not happy about how much silicone I used when installing the door. In my defense, I just did what the instructions told me to.

In preparation for the two windows that are going to be moved to make room for the additions, I am removing the trim, sawing out the polyurethane foam around the window, and fixing the broken latch on one of them. The latch has a broken screw, and the window has been my emergency access to the house when I lock myself out. The the latch is now fixed and I better not lock myself out of the house!

Here's a photo of the broken screw. I had to dig out the screw with a pair of needle nose plyers after drilling out the wood around the screw.

I filled the hole with some epoxy.

Then I redrilled the hole and installed the screws. All fixed! It only took me eight years to get around to fixing this window. *sigh*

I also had to move the dryer vent. I decided to relocate the dryer vent to the roof because that is the shortest distance to the outside. I'll have to sweep my roof more often, but maybe that will give me more motivation to actually sweep the roof! This is the third time that I've cut a hole in my roof, and I was a lot less nervous this time around. In fact, I was smart enough to cut the hole when it wasn't raining!

Here are some photos of the old front door (originally the side door) of the house. It is only twenty-eight inches wide. The new front door will be thirty-six inches wide.

Here is some wallpaper (it's really thick like chipboard). This was extracted from between some studs and was being used and shims.

Temporary Front Door

Our old front door is gone. Actually, it's in the rental shed. We're going to sell it or donate it. Our new front door is a piece of plywood. Yay for us!

This is the lock I put on after the first day without a front door.

It was really nice, but we just couldn't make it work from the outside so I installed a screen door handle and latch.

This set up works much better. Except the workers take the front door off every day so I have to realign all the hardware every evening. When we all leave I screw the door shut and take the driver with me so I can unlock/unscrew the front door when we come home. *sigh*

Saturday, July 23, 2016

Repaired and Wrapped

The entryway room has slowed down the progress on the additions by at least two days. Maybe more. But the new addition floor joists can't be installed until there is something to actually connect to. 

Here are some photos of the repair and rebuild work on the entryway. The front wall is now made of 2x6's. This will hopefully allow the electric meter to be moved more easily and keep the service panel in it's existing location. The entire subfloor was replaced and even some floor joists were added and repaired.

The old master bathroom window was pulled out and the new one was installed. The new window required new framing, but the wood in the wall wasn't in good shape so new framing was necessary regardless.

The existing house that had the siding pulled off due to rot got new windows and house wrap installed (those rooms are the 2nd bedroom, master bathroom, and master bedroom).

We no longer have a front door, but one has been ordered. Here's a picture of the old door.

The floor joist inspection in on Monday morning. Then the wall framing begins.

Wednesday, July 20, 2016

Foundation Walls and a Repaired Wall

Our GC has really been working hard. And so has his crew. The concrete walls were poured and then they started working on the floor joists. Well... except not in the carport area since the wall and floor area where they need to tie into is too rotten. The crew has actually been spending the last day and a half repairing what the GC calls the worst rot and hodge-podge build that he has ever seen. 

Here is the concrete truck and pump truck pouring the foundation walls.

Here is the resulting foundation wall.

Here is the rotten wall in the entryway. The GC was amazed that the house was still standing.

Here's the same wall from the outside.

In progress. Only prayers were holding the roof up at this point. And one stud. And a post out beyond the house.

Here's the new floor framing. The new 3rd bedroom is going to be awesome! I might move into the crawlspace. There's so much room!

The GC got proactive and installed the new windows in the master bedroom. These are the most expensive windows in the house... Anderson 400 series gliders that slide both left and right.

Here's the repaired rotten roof-supporting wall.

Here's the wall from the inside. The floor is new as well and has much better support in the crawlspace as well. The header is made of the 4x8 that used to be holding up the carport before the construction started. Waste not, want not.

The floor joists in the carport will start next.

Saturday, July 16, 2016

Foundation Wall Forms

I've been meaning to find the time to pull off the old siding, but I just haven't been able to do it. I told the contractor that if the crew had the time they could pull it off. So they did. They also found some rot is places that I expected to find rot and some places that I was totally surprised to find rot.

The contractors have also been doing their main task of getting the foundations built. The footings have been poured and the foundation wall forms have been built. The walls will gets poured on Monday. The lumber will get delivered on Tuesday. The framing will likely start Tuesday as well.

Here is some rot that was found on the NW corner of the house. It looks really old.

 Here is some rot on the master bedroom wall. It also looks very old, and it was very unexpected.

Here are the sonotube pier forms for the porch. 

Here are some photos of the house without the siding.

And here are some photos of the foundation wall forms. The footings have already been poured.

Here's the front of the house. The siding hasn't been pulled off yet, and I'm still trying to get the electric company to give me permission to move the meter away from the front door.

Wednesday, July 13, 2016

Footing Forms

Day two of the project had the footing forms completed (the inspection was requested) and the front porch demolished. The GC had ordered a porta-potty but it didn't show up until the end of the day (which pissed off the GC).

I also learned about an ufer. An ufer is how most new construction grounds the electrical system and house. An electrode is connected to a 20' piece of rebar in the foundation. The foundation contractor had a question if an inspection was required for the ufer.

Here's a photo of the porch demolition. They used a sledge hammer and a jackhammer to bust up the concrete slab and step.

Here are the footing forms.

I rebuilt the stairs that I had originally built for access to the travel trailer that we used to have. I cut them down so they had only two steps. My three-year-old walked out of the house and fell forward since he wasn't used to not having a porch. I felt really bad for him.

The forms for the piers (for the porch) and the foundation walls will be built next. Hopefully the inspection and pour for the footings will happen in the next couple of days.