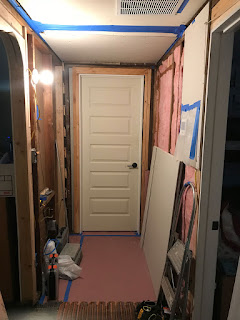
The cabinet showed up about a week earlier than I expected. It had a little damage on the sides, but the sides don't show so I didn't complain.
I set up the sink in the middle of the master bedroom to make sure all the parts fit and that my spouse and I liked the way it all looked.
The first thing I had to do was remove the old sink. I installed this sink in January of 2006 and moved it to this location in the bathroom in 2013 or 2014 (I think).
Then I coated the walls in a moisture barrier called RedGard.
I then installed a cleat on the floor so that the vanity cabinet had a solid connection and alignment.
The cabinet was already pretty level, but I leveled the counter to make sure. The counter is quartz and we were able to buy it by the square foot (instead of having to buy a full slab). The color is Coastal Grey and it's made by PentalQuartz. A local fabricator cut it to size from a remnant they had.
After using adhesive to install the counter onto the cabinet, I installed the sink and the faucet (both are made by Kohler). The sink model is Pennington and the faucet model is Worth (in brushed nickel). The faucet comes with a drain, but I bought a drain by Luxier which is much nicer.
The aerator that came with the sink was horrible. It created splatter and water everywhere with its shower like flow. We replaced it with a different one (a true aerator flow) and are much happier.
I had to install the cabinet a couple of inches away from the back wall to accommodate the plumbing so I then had to install some filler pieces in the back of the cabinet so things don't fall into that gap. This also allowed me to attach the cabinet to a stud along the back for added lock down.
Next was tile installation. This is the first time I've installed tile on a vertical surface. The tiles were 3x6 with 2x6 bullnose tiles along the top and front. I used a premixed acrylic adhesive and rented a tile saw from Home Depot.
I also used a premixed acrylic grout. Grouting takes lots of patience.
Once the grout was cured, it was time to silicone in all the joints between the counter and walls.
All I have left to do around the sink is paint and trim.


