Thursday, November 30, 2006

We Have Cold(er) Feet

We did a bit of work during the week of Thanksgiving. My brother-in-law came to stay with us for a week and, well, we had to keep him entertained as best we could. One of the first things we did was to visit the dump. Actually, we go to the transfer station. It's a lot like the garbage pit/compacter from the first Star Wars movie. B-i-L loaded up my spouse's truck with about a half ton of wood, concrete, and steel pipe debris. Here are a couple of photos (one of B-i-L in the truck at the transfer station, the other of the debris in the "trench-of-death".

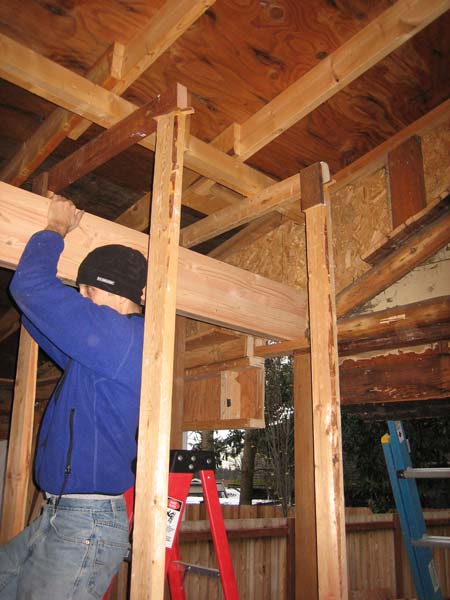
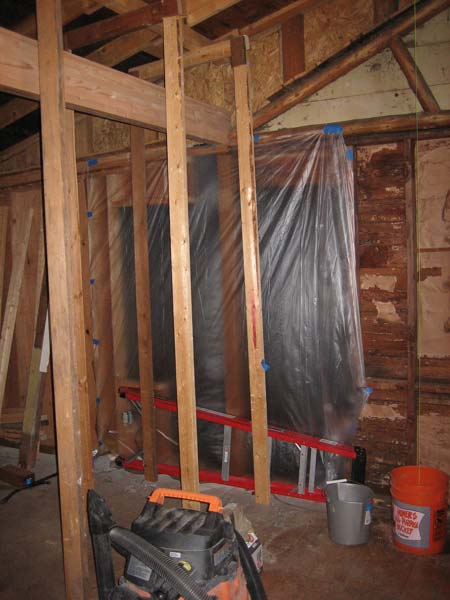
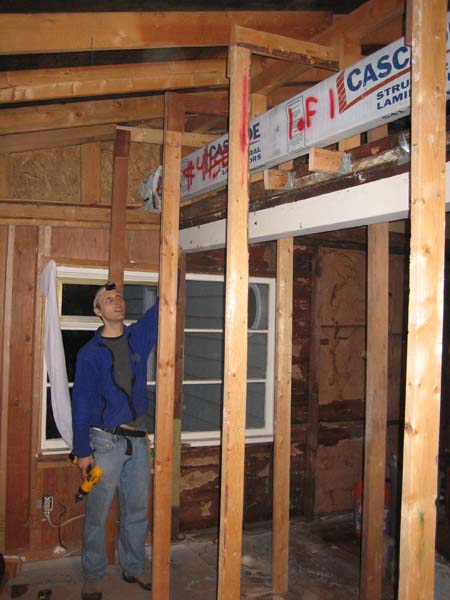
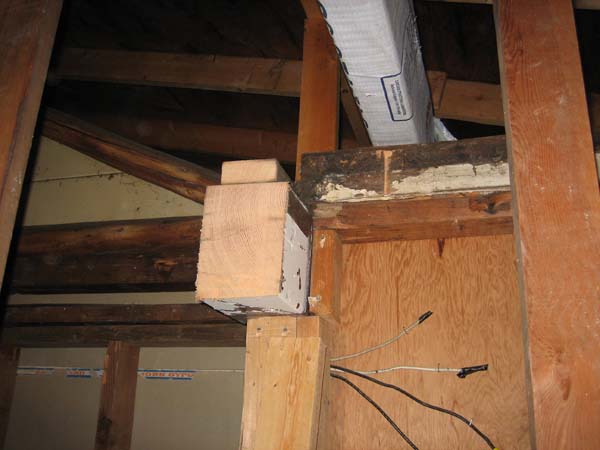
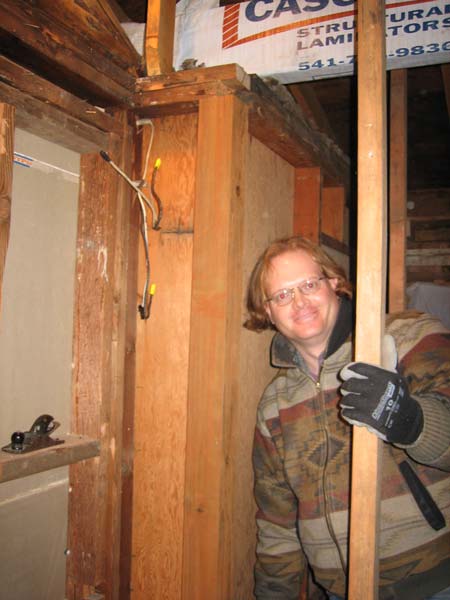
On the day before Turkey day, a friend of my spouse's dropped by for a visit. B-i-L and I had already taken out the 2x4s in one of the locations where we needed to install a new post (to support the beam) so Mr. S helped me install the new post and nail it in place. Here are a couple of photos (one is a before shot, the other is Mr. S posing with the new post).

Like any good construction team, we spent a lot of time making sure one person was working while the others offered suggestions and made sure most safety measures were being adhered to. The second post location required lots of conversation and it was very entertaining.
Turkey day was very nice. A couple of months ago, we were eager to have Thanksgiving at our house. A week ago or so, some friends talked some sense into us and got us to come over to their place for Thanksgiving. So we packed up and cooked over there. It sure was a lot warmer in a house with a ceiling.

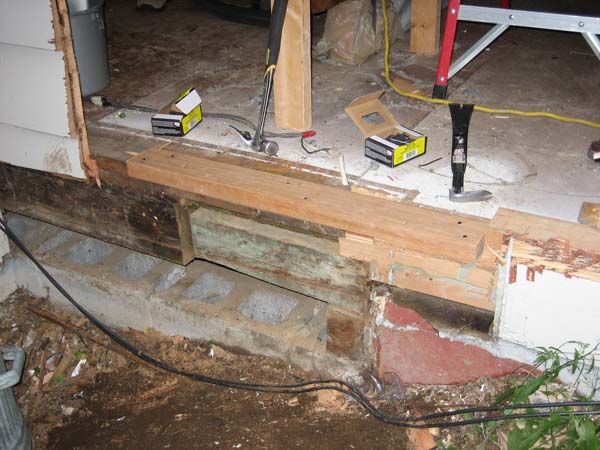
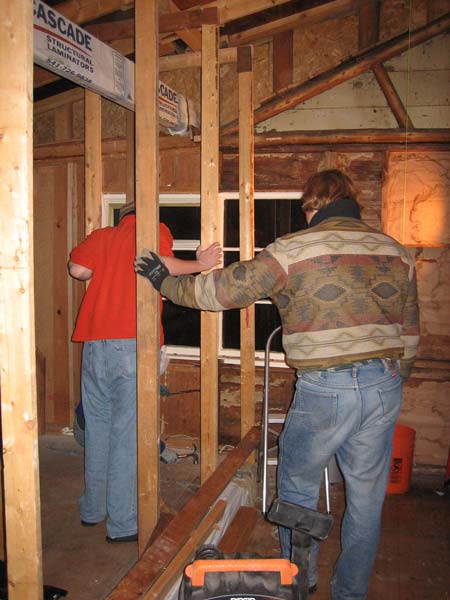
With all the company in town though, we couldn't help but take advantage. Mr. S was coming over on Black Friday so B-i-L and I decided to get a head start and attacked the second post location. To get at it we had to blow a hole in the outer wall and remove the windows in that area.

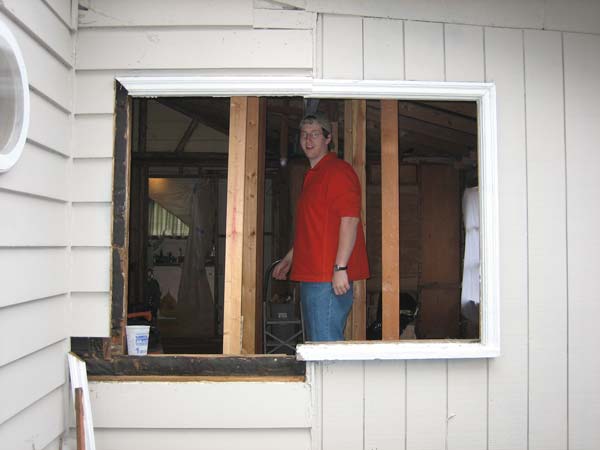
Our demo work was a little on the surgical side since we didn't want to add to any structural problems. We found that the windows weren't really fastened to the frame of the house. They were just floating in the openings with an awful lot of hardened putty around the edges to keep them from falling out. We guess we don't really know if this is the way windows were supposed to be installed back in the old days (1980 or so), but it doesn't seem like the best way to do it if you ask us.

We found a little wood damage under where the post was going to be placed, chiseled out the area and added a piece of good wood to fill the void.
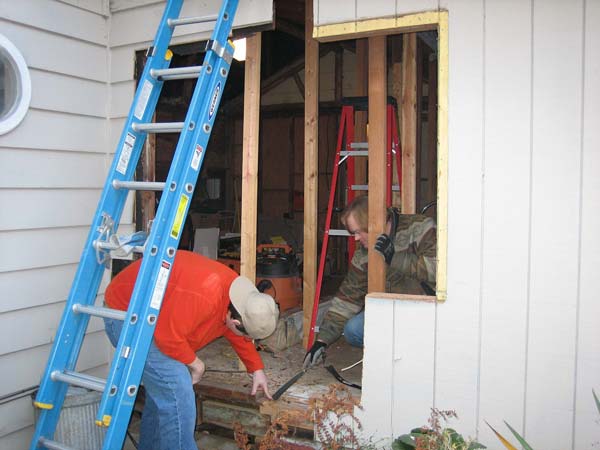
We used some of the original cedar 2x4 material to bridge the area both on bottom and at the top where the post and beam will be set. We have to do this area first so that we can support the roof with the beam before we blow out the rest of the walls (that are also supporting the roof).
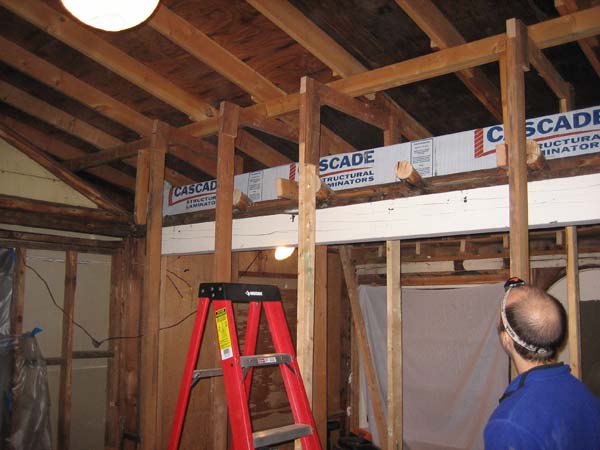
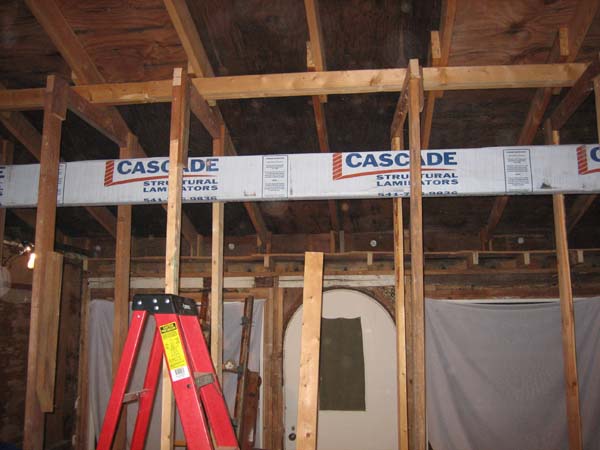
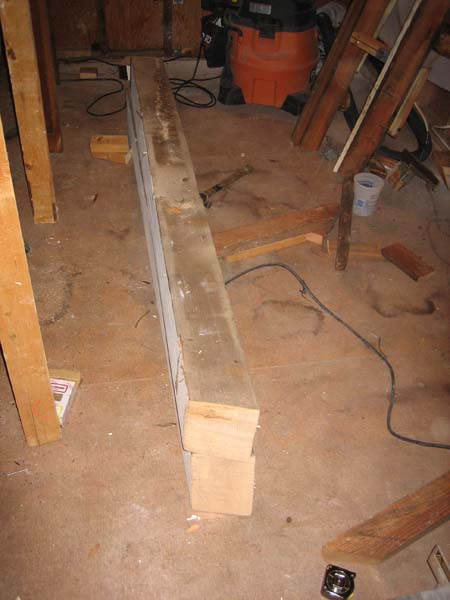
With the posts installed, it was time to unwrap and place the beam. Unwrapping the beam was not unlike unwrapping a large candy bar. After placing the beam, B-i-L noticed that the word TOP was stamped on the bottom of the beam. After puzzling over this strange instruction for a while, we flipped the beam over so we couldn't read the confusing word anymore.
With the beam in place, we decided to call it a day. Nailing the beam in place could happen the next day. We tapped plastic over the outside and inside of the hole. It's a little colder in the house now, especially since it started snowing. It's noisier and draftier, too.
I've taped all the air leaks in my office space (which has been sealed off from the living room with plastic for months now). I've also started wearing my sleeping bag while I work at my computer. That, plus my little space heater, keeps me pretty toasty during the day while I work. We've taped off the nook as well (where we are keeping our plants). There's a heater in there and the plants seem happy enough.
Monday, November 27, 2006

White Thanksgiving

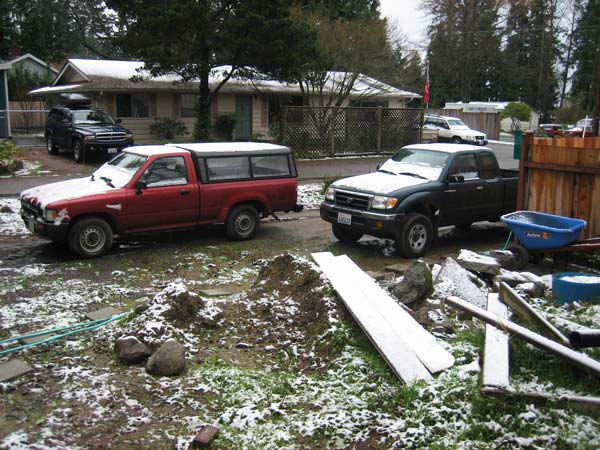
It snowed on the Saturday after Thanksgiving. Not a lot, but enough to be noticed. It had hailed on the Tuesday before Thanksgiving so we guess the snow shouldn't have been a huge surprise. The first snow melted very quickly.

On the Sunday after Thanksgiving, it snowed a lot! 3-4 inches and it stuck. It's supposed to snow again today/Monday (2 inches) and we're already starting to see a few flurries.

The reason it is snowing is that we pierced the protective membrane that we usually refer to as "house" on Friday. We installed the posts to support the beam and that required blowing out the windows and wall in that area. More on this later.

Monday, November 13, 2006

Doing our Part

The house on the front lot has finally been listed so we picked up one of the fliers. The box is crammed full and they are kind of moist and wrinkled. They're also kind of hard to get out. Since we love our neighboring developer so much, we decided to help him advertise by posting a copy of the flier on our blog. Here it is. Enough said. Enjoy!

Note the exclamation points. The 7400 sq ft lot size is especially appealing. 7400 sq ft is about as small of a lot as a developer can build a house on. Exclamation point indeed!

Thursday, November 09, 2006

It's not Weed, it's Grass

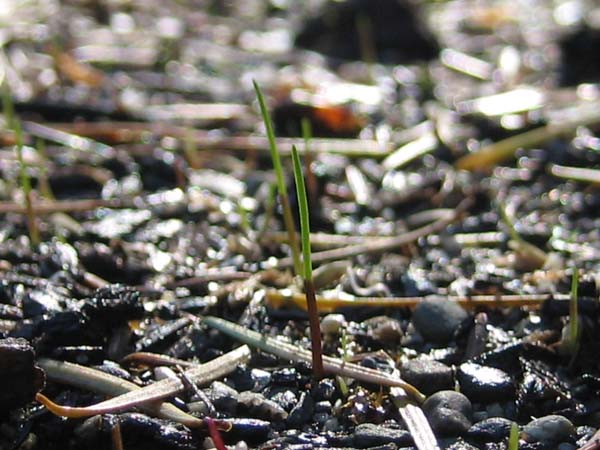
Out of the corner of my eye, I get a sense that something is different. I look to my left and stare at the "lawn". It doesn't look any different. But something is different. There's a very subtle verticality about the micro-texture. I walk over and stare some more. I still can't really tell if I'm seeing anything that would make our "lawn" more than a washed out, pine needle covered dirt pile. Then I see it. I bend down and when the sun is just right (yeah, what sun), I can see tiny grass shoots poking up.

We can't believe it! Grass! There are little shoots pushing up here and there all across the lawn. My mom was worried that the rain would wash everything away. But there it is. Grass. It will be interesting to see how patchy the grass comes in. Good thing we have a decent macro mode on the camera because there is no way we could have taken a decent picture from 12 inches away. We had to get 3 inches away to see the grass.

Here's another photo of grass. We think that this grass is not from seed but from old grass root left over from the old "lawn".

Wednesday, November 08, 2006

Rain Drain

So, in the midst of all our beam fun, it was raining like crazy here. Historically, the average for November is 5 inches. For the entire month. So far this month, we had at least 8 inches. Rivers have flooded, towns have been evacuated, and much has washed away.

BUT NOT US! Mwa ha ha ha ha!! My spouse checked on the crawlspace yesterday morning, in the midst of the rain. What did he find? Nothing! The crawlspace was dry. That means that either the drain we installed is working or the rain was mystically being absorbed by our crappy clay soil. I prefer to think the former. We'll see as winter wears on and we get hammered time and time again by storms.

High Beams

Now that we're done with the lawn, it's time to spend some more time inside. The big roof supporting beam is the next thing to deal with (obviously). The thing is too low, ugly, and it's even sagging a little bit. We are going to replace it with an engineered beam (called a Glulam beam). A Glulam beam is really nothing more that a bunch of 2x4's laminated together. Big deal.

In order to remove and replace the old beam, we have to remove the rest of the 2x4's that make up the ceiling (as well as some of the old logs that made up the old, old roof). After we did that, we had to remove the old chimney. We had a hard time figuring out how to do this. We were particularly afraid of all the old soot that we suspected was in it so we duct-taped every seam and hole we could find. Still unable to see how to remove it, we tried using the sawzall and the tin-snips. Not really getting very far and in fact just mangling the chimney, we finally held our breath and pulled the thing apart. Easy! And not a big mess either (thanks to the tape).

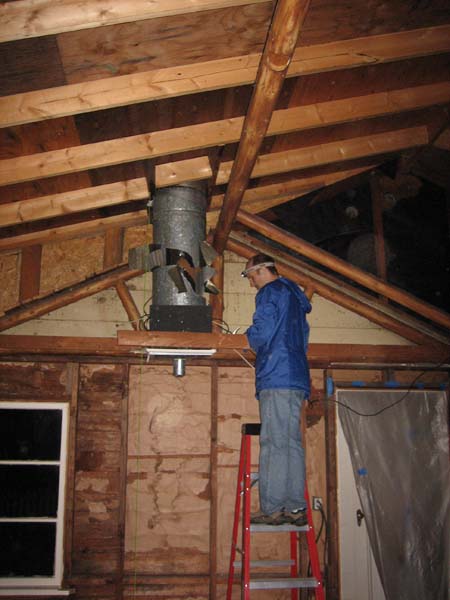
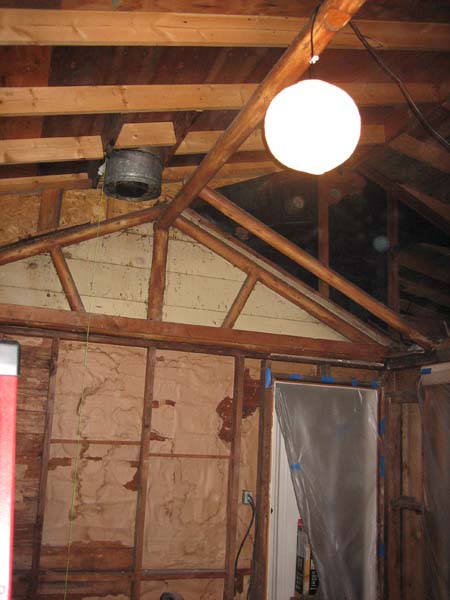
Here are pictures of the chimney before and after. My spouse had the brilliant idea of hanging a light in the space so we could see. It works! You might notice a yellow string in the photos. There was already a small leak in the chimney area and our messing with the chimney only made it bigger. The string is to guide the drip into the bucket and keep in from wandering down the rafters. We also used a blue tarp on the roof around the chimney to help minimize the leak. We're using the old tire we found in our yard along with some rocks to hold it down. Blue tarps always help with property values (especially when people are trying to sell houses on neighboring lots).

We also had to cut out the old sun-porch roof/ceiling that was sloped. With all that done, we had to build supports for the roof so that when we removed the existing beam the roof didn't cave in on us (we're brave, aren't we). I woke up Saturday morning thinking that if we built the supports, we would never get the new beam in place because the supports would be in the way. The solution was to put the new Glulam beam up in the attic space and build the supports around both beams. The Glulam beam is only a little over 100 pounds so my spouse and I were able to lift it up relatively easily. When we cut out the support 2x4's that ran from the roof to the old beam, only one shifted and sat on the blade of the sawzall. We used a wedge and lifted the roof support up a bit and everything was fine. The roof didn't sag or settle or even cave in! We must have done something right. I hope our luck (and forethought) continues.

Here are before and after photos. It turns out that the 2x4 and logs on top of the old support beam weren't even nailed to it. They just slid off when their ends were cut. To get the old beam down, we put some 2x4 supports under it (in three places). We cut a 4 inch section out of one end so we had some wiggle room. Then we made two more cuts and pulled down the beam in two halves. Wow! It was pretty heavy. We had been considering keeping the beam in one piece but we're really glad that we cut it in half.

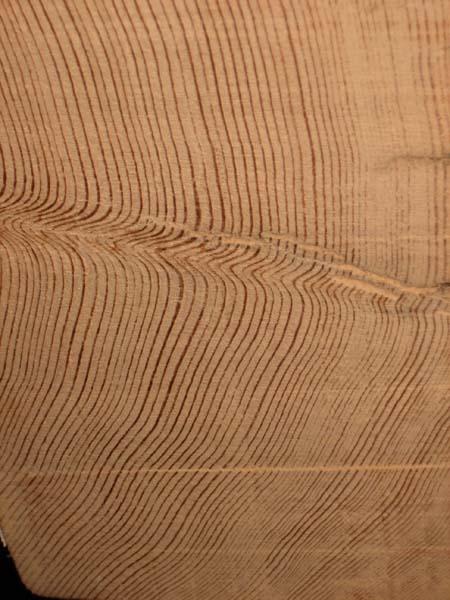
The old beam smelled like fir when we cut it. My spouse counted 75 rings and that's just in our beam! It was probably from a very old tree. There were a few pretty deep cracks in it. The wood is really nice and I've been wondering what I should do with it. I could make a jewelery box for my spouse as a surprise (of course, she won't be surprised now that I've blogged it).

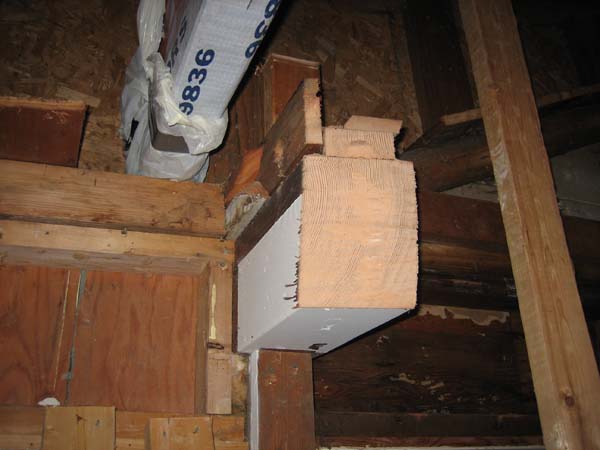
Here are the left over ends of the beam at the wall connections. We're really happy to have a sawzall. It's definitely the best demo investment anyone can make.

Here's a photo of the old beam halves on the floor.

Now we have to re-frame the support post locations and install the new Glulam beam. What fun!

Wednesday, November 01, 2006

'Til the End of Lawn

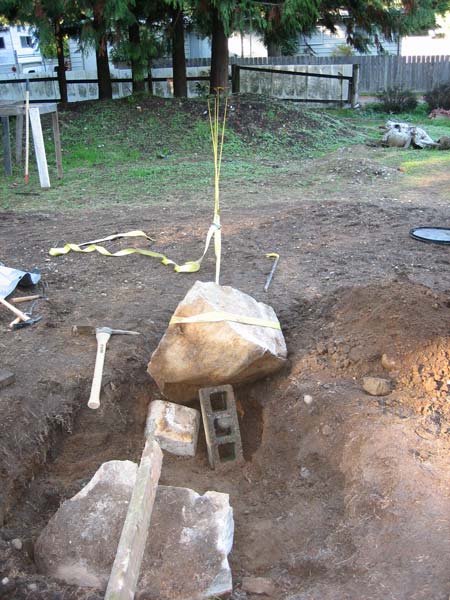
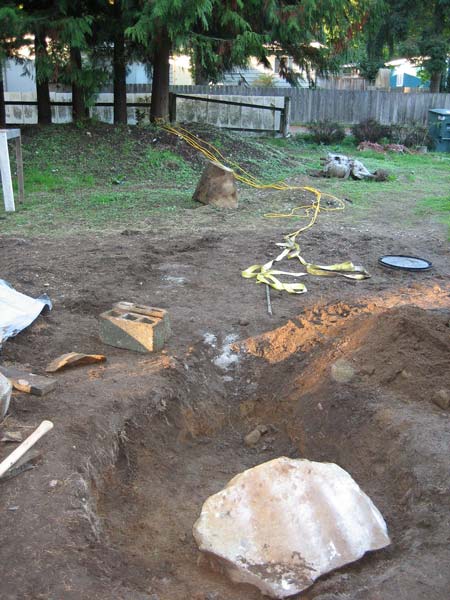
As you may remember, we found a big boulder in our lawn about 1” below grade. We were feeling frisky and thus attacked it. We’ve received lots of advice about this. My father recommended drilling holes and using explosives. Another friend recommended digging a deeper hole and burying it. In the end, I used a jack hammer in an attempt to break the rock into smaller more manageable pieces since not even our trucks would have budged it. I soon found out that a jack hammer is good at finding and exploiting pre-existing fissures but not actually creating them from scratch. I made about 10-15 little dents in the rock before finding (luckily) a hairline crack that I was able to force open. The resulting halves were about a 2/5ths piece and a 3/5ths piece. Still pretty big pieces, though.

My spouse was sick that week so I went at it by myself. I tied off to a tree in the yard and used one of my truck straps as a come along. I guess I was just too lazy to go buy/rent a real come along. I was able to budge the larger rock half a couple of inches at a time. Using a 2x4 and some concrete blocks, I supported and adjusted the rock and eventually got it almost out of the hole. I knew if I just had one more person I could probably roll the rock across and off of the lawn area. I called a friend and he came over with his 21 month old son. Hey, every little bit helps! Together we rolled the boulder half out of the hole and off the lawn (little by little). His son would come over from time to time and help us by pushing and making grunting sounds (not very dissimilar from the sounds we were making). The rest of the time he’d dig in the dirt with a mini pick axe tool.

Working the rock.

Success! (Half-way)

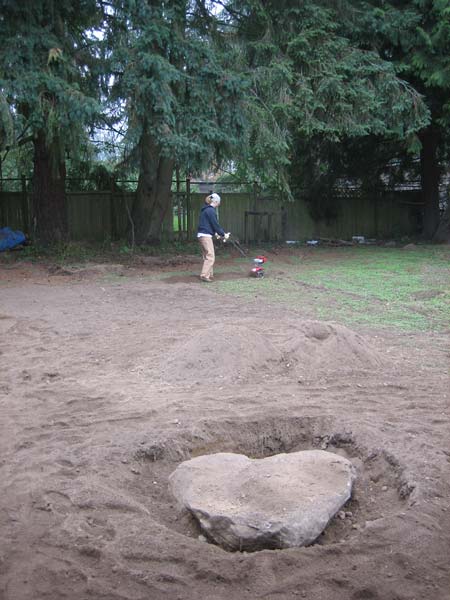
Moving one of the halves was pretty exhausting. I wasn’t really into moving the other half. I decided to bury it. The smaller of the halves now resides 6” below grade in the lawn.

Success! (Out of sight, out of mind)

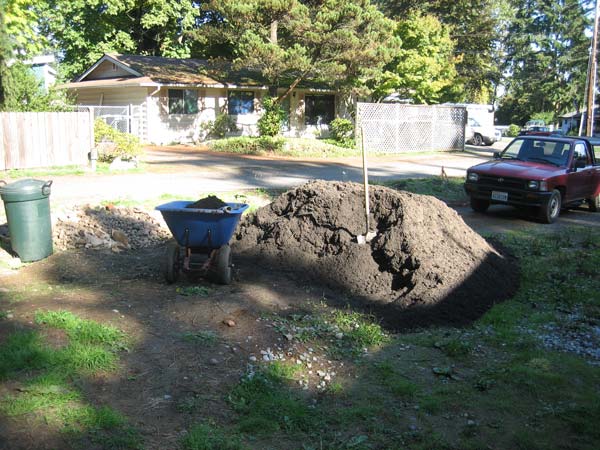
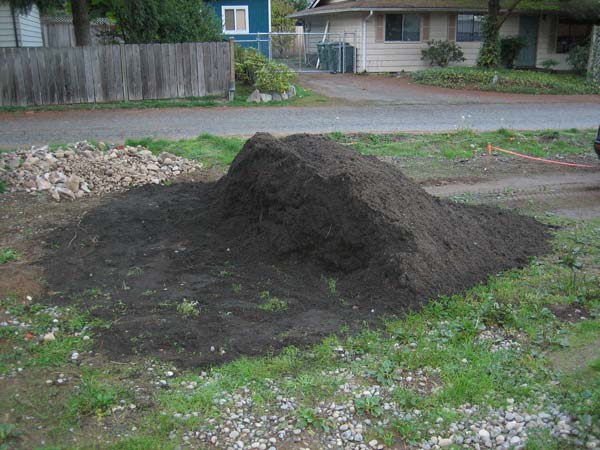
With the lawn clear of boulders and holes, I spread 7 yards of 2-way compost (sand-compost mix) over the approximately 30’ x 30’ area. I had to shovel it, wheel barrow it, then rake it out. My spouse helped rake as well, but she was still sick and didn’t have a lot of endurance.

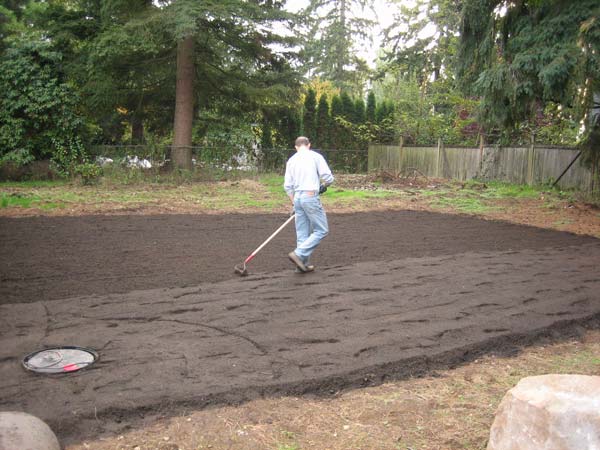
After spreading it, I tilled the compost to mix it with the already tilled pre-existing “soil” that was under it. After tilling along the x axis and then the y axis, I leveled the area with a rake.

I rented a roller, filled it about one third full of water and gently compacted the soil. After that, I scored the smooth surface with a rake so that the grass seed would have more contact with the soil.

A friend had loaned us a fertilizer spreader and I had already used it to spread some lime before tilling the compost into the soil. Spreading the grass seed was a very touchy process, but I got reasonably even coverage. Finally, I went over the whole area again with the flat side of a leaf rake to gently cover the grass seed. It rained the next day, which was prefect.


Unfortunately, it has gotten quite cold and we haven’t seen any growth yet. We will likely have to seed again in the spring. Until spring though, we’re not messing with the lawn anymore!

Monday, October 30, 2006

Freeze Frame

It's COLD here. It got down below freezing last night, which means that it was below freezing in our house. Pretty much all day. It warmed up outside, but not in here. It's supposed to get down into the teens tonight, which means it'll be even more fun around the rat-hole tomorrow. Thing is, I think it'll actually be WARMER when we knock out the exterior walls for reframing. The other bummer is that with the time change, it gets dark even earlier. Considering we ripped out all the electrical in the dining room yesterday, we only have a couple of places to run lights from. *sigh* We're currently living in that scene in E.T. where all the plastic's up all over the place. We've plasticked off every doorway we can, with the baseboard heater running in the nook to keep our plants from freezing (the baseboard smells like burning rat turds, which is lovely, as I'm sure you can imagine).

I think we're going to just eat all our meals in the bedroom, which DOES have heat. It's a balmy 60 degrees in there! No more of this wearing a stocking cap while eating breakfast. Oy.

But enough of my whining. We made a little bit of progress this weekend. We took out the cross-beams from the "ceiling" and started to saw out the plywood over what used to probably be a sun porch. It turns out the side of our roof is resting on the plywood up there. Lovely. Oh well, we'll fix that when we reframe that wall. We also did another dump run- 700 lbs of goodness. Yay! My brother's coming over Thanksgiving, and we're trying to convince him to stay with us over his winter break. He can make many, many dump runs. Hee hee.

So the countdown is on for Thanksgiving. Will we get windows in? Walls in? Electricity? Drywall? And, dare I say it, heat? Only time will tell. We might have some pretty miserable guests.

Monday, October 23, 2006

Front Lot Update


Here is a photo of the monstrosity on the front lot. The guy on the motorcycle is a friend who helped us pick up the windows (and sliding door) and transport them to our house (not on his motorcycle, though).

As you can see from the photo, it’s big. A big load of... well, the guy building the house told us the other day what he was going to list it for. Guess. The house is 3300 square feet. Four bedrooms, 3 baths, and a 3 car garage. Come on... guess. $750,000.

I checked on Zillow.com and there isn’t a house in a 2 mile radius that is valued at that price. The highest I found was $669K. And the market is softening. And the house is ugly. And it’s poorly built.

A our friend said (the one on the motorcycle), "That house is all about screwing somebody over."

As you can see in the photo, fences have been built on the north and south property lines. The annoying guy and his posse built the fences themselves (no cheap, under-paid sub-contractor for the fence). We don’t think they’ve ever built a fence before. They screwed the fence slats in place and left an approximately 2 inch gap in each section. The slats are 5 and a half inches wide. They are filling the gaps by cutting little 2 inch filler slats. This approach, combined with the fact that the gaps are uneven from top to bottom and that the tops of the slats have chamfered corners, looks quite bad. We’re even afraid that the fence might fall over onto our driveway!

Just to have some fun, we’re going to put some blue tarps and tires on the roof of our house.

Thursday, October 19, 2006

Come See the Amazing Tilling Machine!

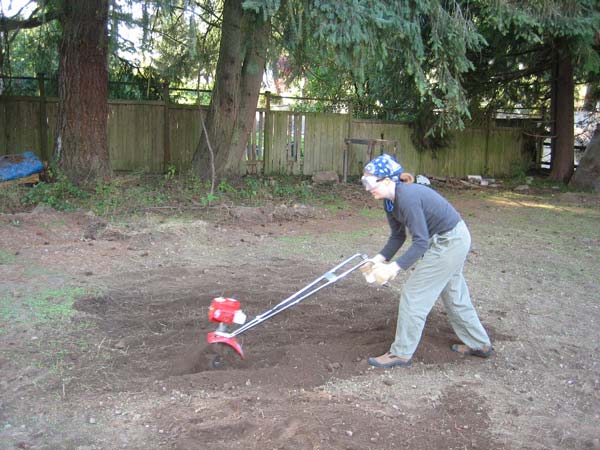
Here are some photos of the tilling process. As mentioned before, this was a lot of fun. My spouse did most of the tilling. I shoveled. We both sifted. Imagine 30 foot by 30 foot area. Imagine it 4 to 6 inches deep. Imagine lifting that amount of soil 4 feet in the air. That's basically what we did. Fun.

The first time...


The rototiller action is kind of like walking a large dog.


A photo of the first tilled and sifted patch (about 128 sq ft).


Tilling on the last day. Here you can see the rock.


Here's 30 x 30 foot area. Not so big.


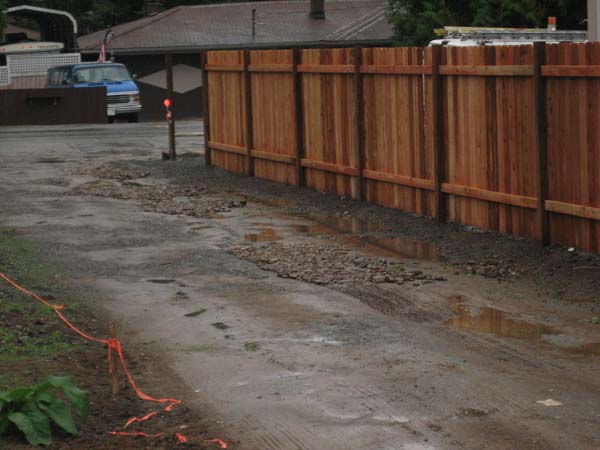
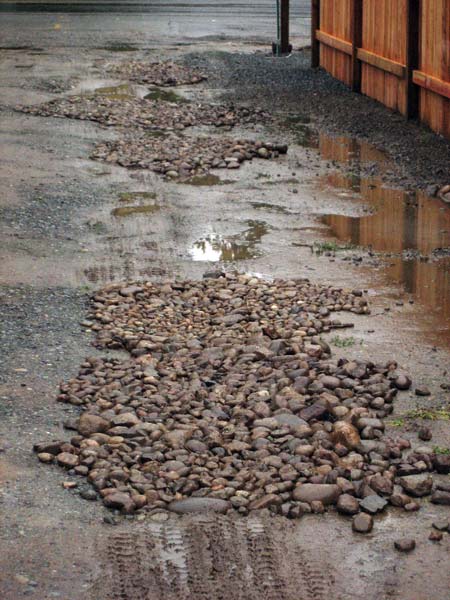
We sifted out a lot of big rocks. We are starting to dump them in the driveway. We call the patches of rocks our little accidents because it looks like someone spilled a wheel barrow. They'll make a good base for when we can afford to put down a real driveway surface (most likely 5/8 minus crushed gravel).


Here are some photos of the beam transport process.