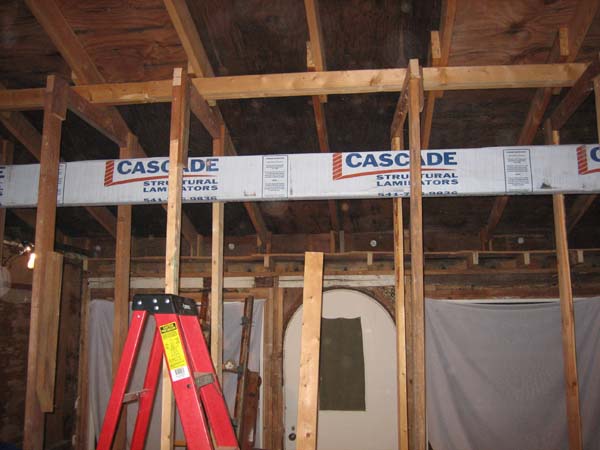
Now that we're done with the lawn, it's time to spend some more time inside. The big roof supporting beam is the next thing to deal with (obviously). The thing is too low, ugly, and it's even sagging a little bit. We are going to replace it with an engineered beam (called a Glulam beam). A Glulam beam is really nothing more that a bunch of 2x4's laminated together. Big deal.
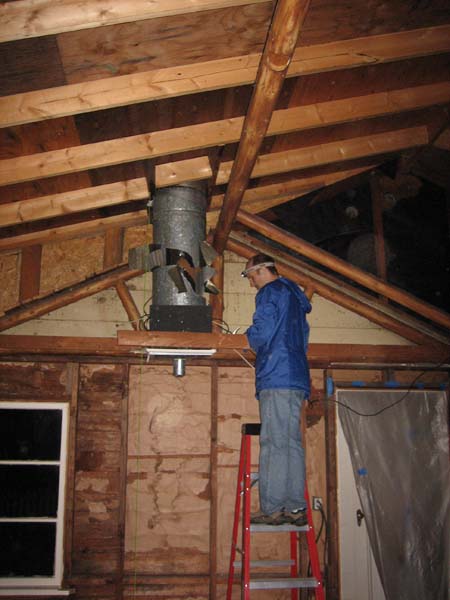
In order to remove and replace the old beam, we have to remove the rest of the 2x4's that make up the ceiling (as well as some of the old logs that made up the old, old roof). After we did that, we had to remove the old chimney. We had a hard time figuring out how to do this. We were particularly afraid of all the old soot that we suspected was in it so we duct-taped every seam and hole we could find. Still unable to see how to remove it, we tried using the sawzall and the tin-snips. Not really getting very far and in fact just mangling the chimney, we finally held our breath and pulled the thing apart. Easy! And not a big mess either (thanks to the tape).
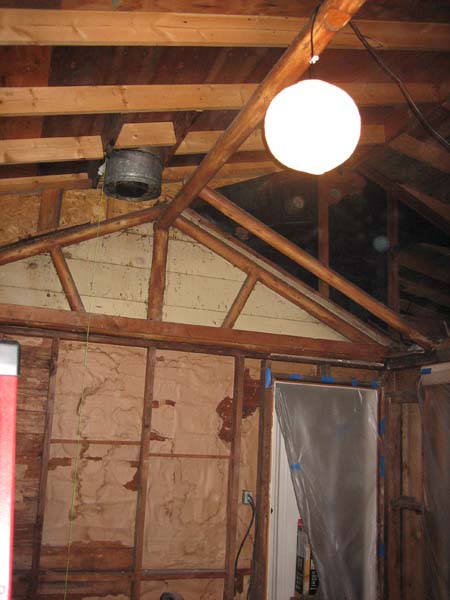
Here are pictures of the chimney before and after. My spouse had the brilliant idea of hanging a light in the space so we could see. It works! You might notice a yellow string in the photos. There was already a small leak in the chimney area and our messing with the chimney only made it bigger. The string is to guide the drip into the bucket and keep in from wandering down the rafters. We also used a blue tarp on the roof around the chimney to help minimize the leak. We're using the old tire we found in our yard along with some rocks to hold it down. Blue tarps always help with property values (especially when people are trying to sell houses on neighboring lots).
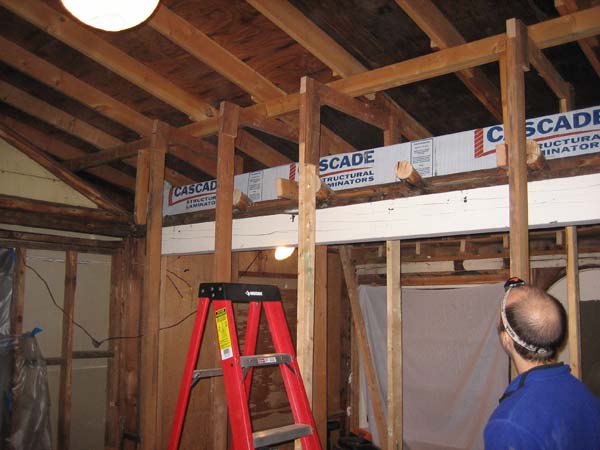
We also had to cut out the old sun-porch roof/ceiling that was sloped. With all that done, we had to build supports for the roof so that when we removed the existing beam the roof didn't cave in on us (we're brave, aren't we). I woke up Saturday morning thinking that if we built the supports, we would never get the new beam in place because the supports would be in the way. The solution was to put the new Glulam beam up in the attic space and build the supports around both beams. The Glulam beam is only a little over 100 pounds so my spouse and I were able to lift it up relatively easily. When we cut out the support 2x4's that ran from the roof to the old beam, only one shifted and sat on the blade of the sawzall. We used a wedge and lifted the roof support up a bit and everything was fine. The roof didn't sag or settle or even cave in! We must have done something right. I hope our luck (and forethought) continues.
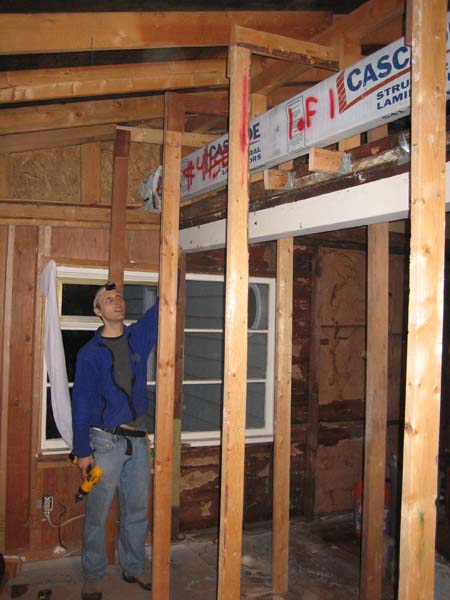
Here are before and after photos. It turns out that the 2x4 and logs on top of the old support beam weren't even nailed to it. They just slid off when their ends were cut. To get the old beam down, we put some 2x4 supports under it (in three places). We cut a 4 inch section out of one end so we had some wiggle room. Then we made two more cuts and pulled down the beam in two halves. Wow! It was pretty heavy. We had been considering keeping the beam in one piece but we're really glad that we cut it in half.
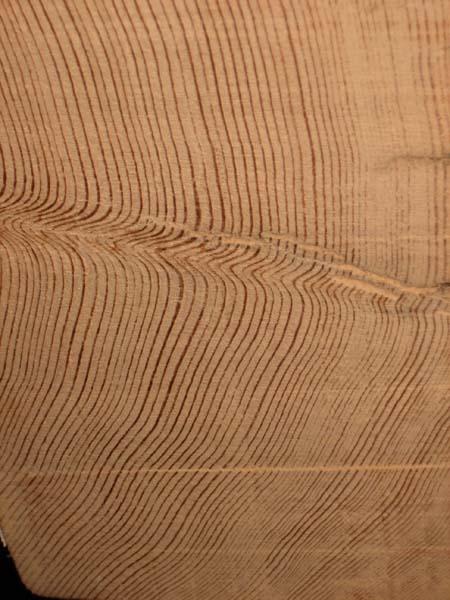
The old beam smelled like fir when we cut it. My spouse counted 75 rings and that's just in our beam! It was probably from a very old tree. There were a few pretty deep cracks in it. The wood is really nice and I've been wondering what I should do with it. I could make a jewelery box for my spouse as a surprise (of course, she won't be surprised now that I've blogged it).
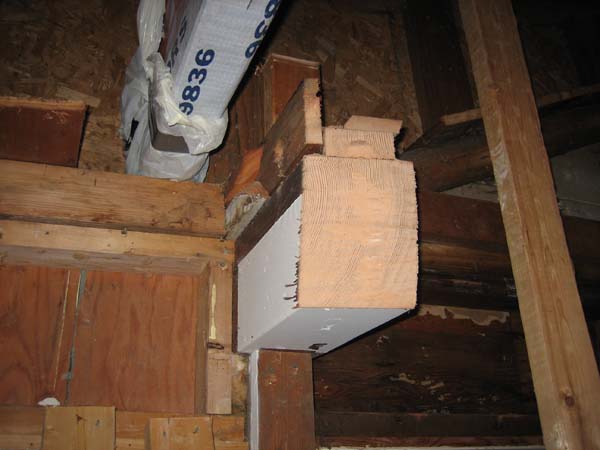
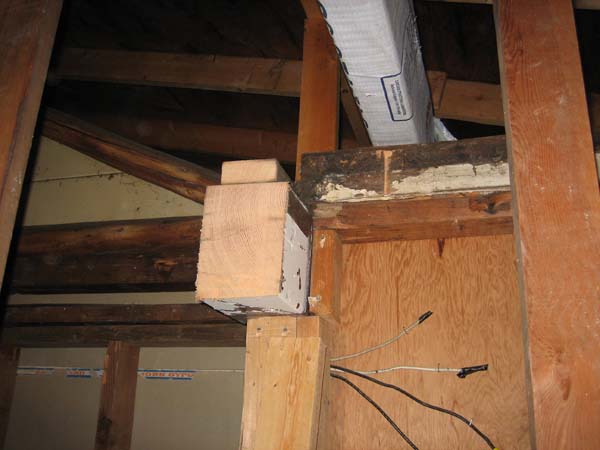
Here are the left over ends of the beam at the wall connections. We're really happy to have a sawzall. It's definitely the best demo investment anyone can make.
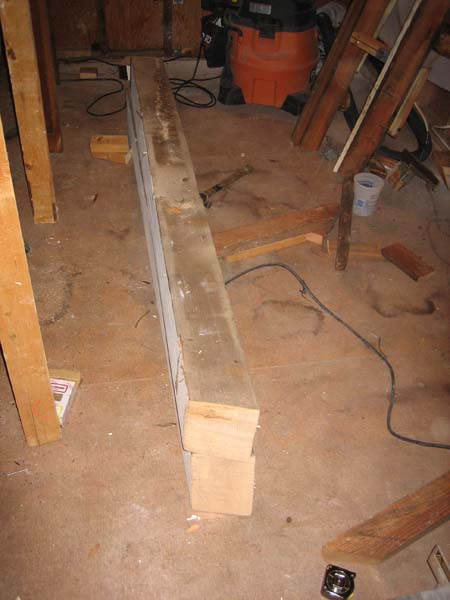
Here's a photo of the old beam halves on the floor.
Now we have to re-frame the support post locations and install the new Glulam beam. What fun!
If you can get it to me, I can slice it for you.
ReplyDelete