Saturday, November 29, 2014

Bathroom Floor - Grout

I grouted the floor this morning. I had intended to do it yesterday, but I didn't feel well (I have some post infection inflammation in my inner ear that is causing me to feel dizzy and nauseous from a cold). It only took about an hour and a half. The most time consuming part was the wiping and cleaning of the floor tiles after I squished the grout into the cracks. 

I used a premixed polyurethane grout called QuartzLock2. I picked the color Silver-Gray since we think that it will go nicely with a Carrara marble counter top that we intend to use for the vanity/sink. It's more than twice as expensive as regular grout, but it retains some flexibility over its life (reducing cracking) and is self-sealing (so I don't have to seal it after I grout). I thought the grouting was pretty easy all in all. The grout has a shelf life of two years so I'll get to keep the bucket (which has a little left over in it) to do any patching of my mistakes that I lose sleep over.

You have to install the grout using a special polyurethane trowel which is kind of soft. And the manufacturer suggests using a cleaner (like Windex) in the cleaning water when wiping the tile clean. You're only supposed to do small patches of grouting at a time since since you wouldn't be able to reach the areas to clean them otherwise. I did patches of about two square feet at a time.

My knees were a little sore when I was done. So was my back.

Thursday, November 27, 2014

Bathroom Floor - Tile

Happy Thanksgiving!

I installed the floor tile in the bathroom today. Doing the tile and grout this long weekend gives the floor enough time to set and cure so that the shower can be used on Monday morning.

The first thing I did was to cut and layout the tile sheets (I rented a tile saw from Home Depot). I lined the tile up along the center line from the sink to the toilet. Sadly, that line is not parallel to the tub. Oh, well. Next time I install a tub I'll make sure my old house walls are not only plumb but perpendicular to one another.

Here's a photo of the tile sheets laid out on the floor. We chose to use a 1" white porcelain hex tile. The tiles come on mesh sheets that are 10"x12". The glue that holds the tiles to the mesh seems to be water based because the tiles let go when they get really wet. This means that they let go sometimes when being cut on the tile saw. They also let go after they've been sitting in the thin-set for a while (which isn't a problem, just interesting). It's not a good idea to lift up an entire sheet after you've set it in the mortar.

I used a 1/4" V notch trowel to spread the thin-set mortar. It took a little while to get the hang of getting the thin-set to spread at the right thickness. The fact that I was working on top of Ditra moisture barrier made this process a little harder for me that I think it would have been otherwise.

I also didn't use tile spacers because these tiles seems to be 3/32" apart instead of 1/16" or 1/8". They didn't have 3/32" spacers at the store and the tile guy said the 1/8" would work (but they don't). That's okay since I can see 1/32" discrepancies and can make adjustments. One of the perks of being an anal retentive product designer.

Here's a photo of the finished installation. The mortar will set overnight and I'll grout tomorrow. Probably in the afternoon.

Sunday, November 23, 2014

Bathroom Floor - Moisture Barrier

I covered the heating wire with thin-set mortar this morning. The thin-set layer is about an 1/8th inch thick. I laid down a sheet of Ditra on top of the still wet thin-set. The Ditra has a fabric back that gets bonded the the thin-set under it. 

The Ditra does a few things. It's a moisture barrier. It also allows moisture under it to escape because of the waffle structure channels. And it allows the material below and above to expand and contract independently thus reducing cracks in the tiles and grout.


I also added an extra 1/4" thick ring of Hardiboard under the toilet closet flange. This extra detail will bring the flange closer to finish floor level since I have layers for heat and moisture barrier.

I didn't have to install the original full floor layer of Hardiboard since I'm using the Ditra, but I couldn't bring myself to put thin-set directly on my new subfloor.

Saturday, November 22, 2014

Bathroom Floor - Heat

I installed a layer of 1/4" concrete Hardiboard on the bathroom floor and then hot-glued the radiant floor heating wire in place. I also tested the heating system and found that it worked fine. Next I will apply a layer of thin-set mortar and install a layer of Ditra (moisture barrier).

Thursday, November 20, 2014

Address Numbers


I nailed some address numbers on one of the posts at the end of the driveway. I've had the numbers for well over three months. My two-year-old was moderately helpful (he leaned on me the entire time), but that kept him out of traffic at least. I hope the FedEx can find my address this holiday season!

Sunday, November 09, 2014

Vent and Drain Pipe

I installed the sink drain and vent pipe today. I even ran it up through the hole in the roof for the old vent pipe. I think I'll add a little length to it so the exiting pipe is plumb, but it works for now. I also added some blocking in the wall so that I can install the old pedestal sink (we need a sink and I won't get to doing a nice vanity right away).


I also added a brace so that the three-gang box of switches and outlets is stiffer. I didn't like the flex that it had when I plugged into the outlets.


I've pretty much done everything I can do in the bathroom except install the tile floor and drywall. My next steps for the drain pipes is to go under the house and build then new drain lines. And then connect them to the old cast iron system.

I'm also looking forward to installing new insulation in the attic space and in the crawl space for the hall bathroom. That should significantly decrease the heat loss from that room.

Saturday, November 08, 2014

Electrical and Plumbing Progress

I was able to move and connect all of the electrical connections and hot/cold water lines today. I'll be installing the vent pipe and hopefully some of the drain line for the sink and toilet tomorrow.

It's kind of disorienting to not have the outlets and light switches hanging from wires in the middle of the sink alcove. But it's also nice to have all the wires out of the way, too.

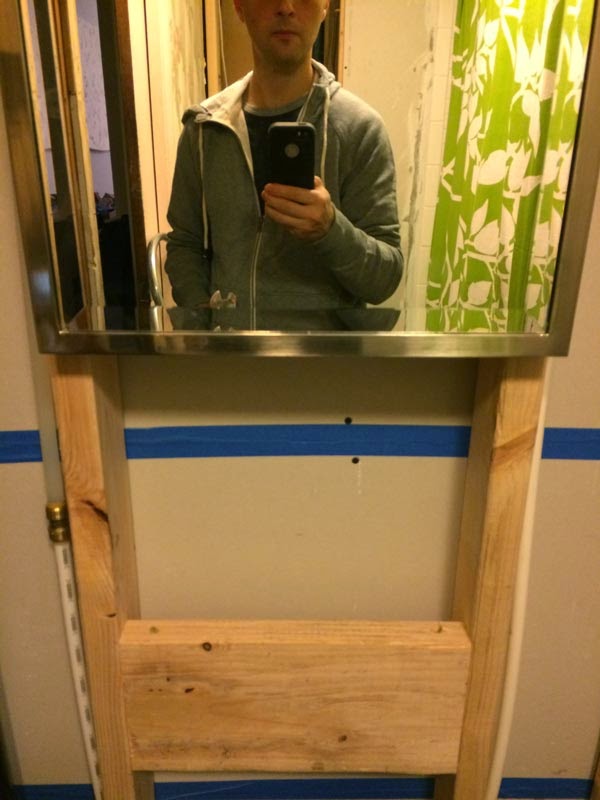
Here's a photo of the sink alcove. You can see the mirror/medicine cabinet, the sconce j-boxes on either side, and the two water lines coming down from the attic space. I'll install the vent pipe and drain tomorrow.

Here are all the electrical connections. There are three switches (for the sconces, the fan, and the light above the shower. There is also a GFCI outlet that feeds the entire run of electrical for the bathroom. In between the switches and GFCI duplex is a night light. Up top is the thermostat location that will control the electrical radiant floor heat. I've run some string in the conduit so I can pull the wires for the radiant heat system and the sensor from the floor up to the thermostat.

Here's a photo of the toilet wall. You can see the new vent pipe (that I still have to connect down below and up above). You can also see the water supply line for the toilet. I've also installed an electrical outlet that can be used for a bidet or other smart toilet accessory (like the Brondell Swash).

You can also see the boxes of 3/4" white hex tile in this last photo.