It's really only sort of hell. An odd sort of livable hell. The hope is that it will turn into heaven in the next few weeks.
Here's the situation:
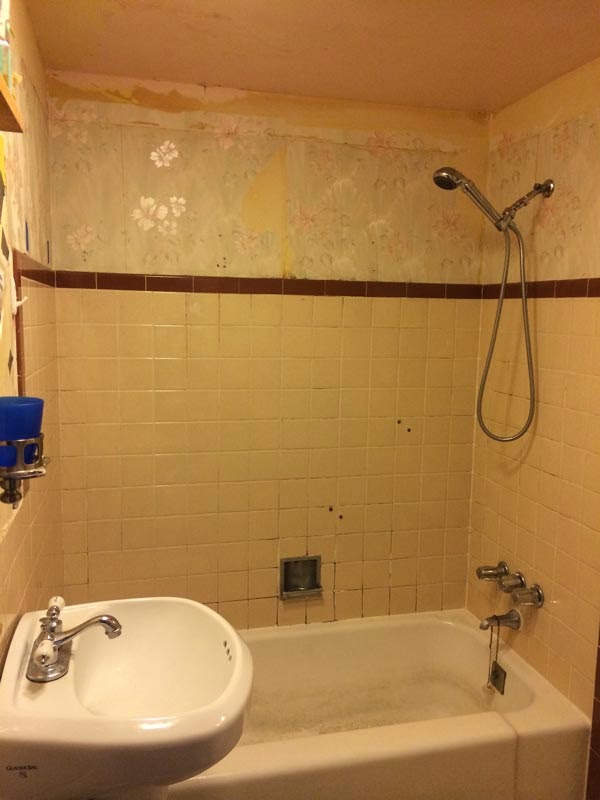
Ever since we moved into the rat hole, we've had issues with the bathrooms. Even bleached, de-mildewed, etc., several times, they've always been semi-horrific. The tile surround for the tub in the hall bath in particular has been awful, slowly collapsing in on itself even after a couple of repairs. We knew the deteriorating tile was trouble, but we limped it along.
Then we decided for our ten-year wedding anniversary that we would finally do something about it. Since we intended to completely redo the bathroom someday, we opted for a temporary solution of a plastic tub surround. We found one we could live with for a couple of years and purchased it. The plan was to put up the surround, redo the master bathroom next fall/winter, then redo the hall bathroom the year after. That way we'd always have functional bathing facilities.
We opened the walls in the hall bathroom and found horror.
Ok, so it wasn't so bad, nor was it unexpected. Lots of old insect damage and rot, but nothing that looked recent. We (and when I say "we" I really mean my spouse) cleaned out the detritus, tore out the studs, and really examined the damage. We figured we could reframe, replumb, and be on our way.
Before and After Demolition
Then the tub sunk into the subfloor, which was rotten. The leaks over the years had degraded the subfloor on one side of the tub. My spouse stepped in the tub, and down it went. It's not like the subfloor catastrophically let go, but it was a definite "oh, crap" sort of moment. We looked at the tub, which we had planned on keeping and refinishing, talked about ways to move the cast-iron beast in order to look at/repair the subfloor, and finally decided to get another opinion.
We talked to a contractor. He said ditch the tub and replace the subfloor. Just put plastic over the tub and whack it with a sledgehammer until it shattered. We figured it wouldn't take that long, and then we'd rest easier knowing just how bad the subfloor situation was. Our little sledge didn't work, so we borrowed a big one from a neighbor. Porcelain shards of danger were safely captured by the plastic. The broken cast iron smelled sort of like welding.
Two and a half hours later we have two small children melting down from exhaustion and we are totally fried, but the tub was gone. Unfortunately our hall bath toilet was also a casualty. Our crappy half-bath in the master bathroom was now our only bathroom. Good thing both bathrooms were now just one big room, I guess.
The good news is that the subfloor damage doesn't look too extensive. We also found a contractor that can help us get it up and running, hopefully in a couple of weeks. We just bought a fancy-schmancy shower/tub faucet/valve set, a new tub is on its way, and we're thinking we'll just say screw it and make the hall bath what we wanted it to be in a few years. Although the thought of going into debt right before we were going to try to finance our bigger additions makes me feel a little ill, we'll figure something out. It will be AMAZING to have a bathroom that I don't shudder upon entering every single time.
So, we'll see how it goes. My spouse will work on reframing, replumbing, etc. to prep for the contractors. Hopefully we can find someone to help watch the kiddos during the day so it goes more quickly. In the meantime, I'll be showering at the local YMCA. I'm advocating bathing the kids in a big galvanized washtub in the kitchen. Living rough in the rat hole once again!


