I hired a Labor Ready guy to come out and spend some time staining the posts and rails last week. He spent four hours and was able to finish the west half of the fence posts and rails. He was about as fast as I was (I stained two posts and three rails a couple of days earlier). It cost $25 an hour.

I'm staining all pieces of the fence prior to assembly so that they are fully covered and there is less chance for rot. I see a lot of fences here in the Pacific Northwest that don't seem to last very long (I'm thinking the rain has something to do with it). The posts warp and break. The rails warp and break at the posts.The pickets warp and fall off the rails.
After the fence is assembled, I'll try to put another coat of stain on the fence as a whole as soon as I can (though, sadly, that may not be until next summer). I'm using a solid stain which is supposed to protect the wood for ten years (though the guy behind the paint desk said that PNW conditions basically cut that in half.

I used the old fence rails to build the saw horses.

I also decided to add the third screw to the rail brackets. The pickets are soft enough that the screw head pushes into the pickets and everything sits nice and flat.
Since the posts and rails were stained, I started installing the stained pickets as soon as they were dry. The top rail is set at 71" so I have to cut the pickets. Plus, each span from post to post gets shorter from east to west. This means that I have to cut the pickets progressively shorter as I install them (from left to right). This is because I've set the top rail level. If I had set it parallel to the ground (and therefore sloped) all the pickets would be the same length.


I'm installing a 5/4" x 4" cedar top cap along the top of the fence to protect the pickets since if I didn't their end grain would just soak up water for the rest of their existence. And I'm installing a 1" x 4" fascia board to make everything look pretty. The fascia board stock I have is actually 1" x 6" and I tried installing it uncut to see if I liked the look. I didn't so I cut it down, stained the cut, and installed it.

The pickets are spaced 1/16" apart.

Here's the fence from the inside of the yard.
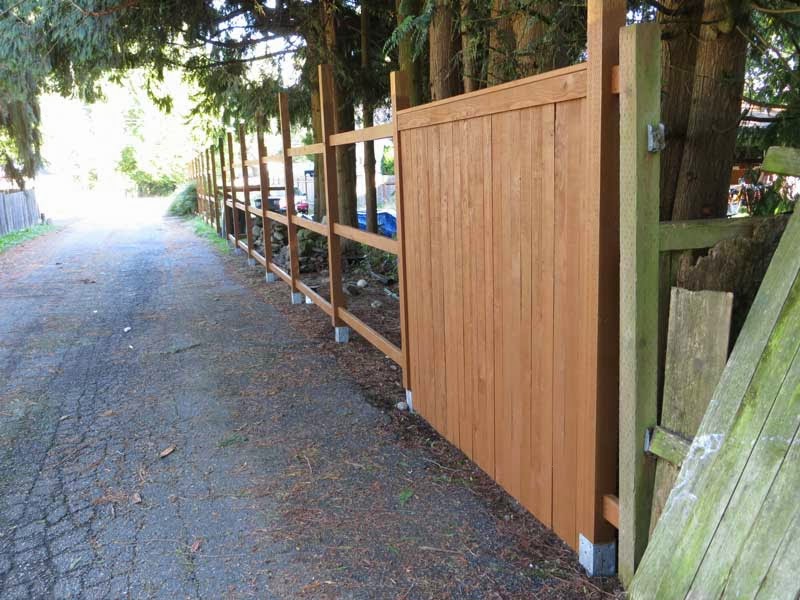

Here's the fence from the outside along the private road.
I'm super excited to have one span done. Only fourteen more to go. And two swing gates. I have someone coming by on Monday to give me a quote on staining the stack of 500 pickets.
This comment has been removed by the author.
ReplyDeletegood looking fence... $25/hr...wow... I will work for that...I am on my way...I will bring my smallest brush...
ReplyDeleteThis comment has been removed by the author.
ReplyDeletewhat! small child isn't going to do the staining!? hahahahaha
ReplyDelete"protect the wood for ten years" - "PNW conditions cut that in half".
YA THINK!?
i'm so glad you are hiring some help to speed the fence along.
maybe every couple of years, you could hire those children you know to restain the fence.
oh beautiful fence
you're stained so pretty
may you last forever
and laugh at the rain