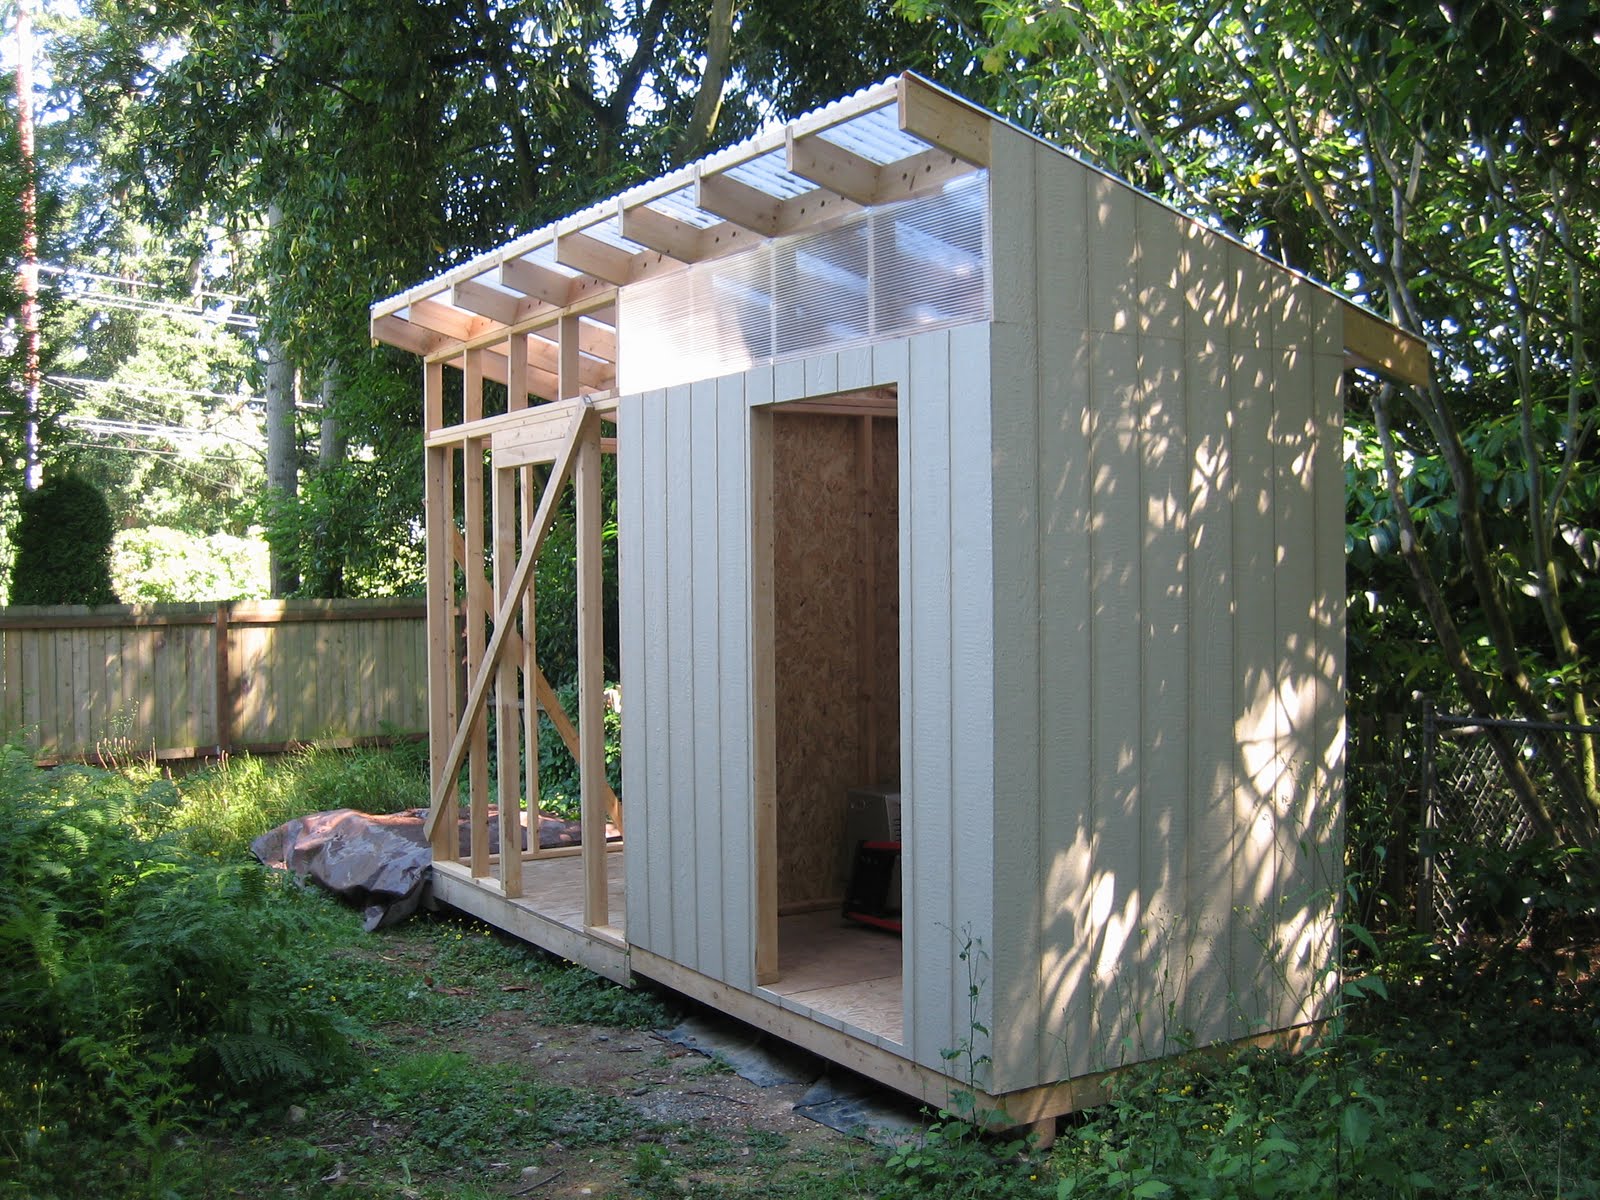
I finished installing the frames and locks on the other 2 doors today. Now all three doors lock. Next is the fascia along the front roof line and the shelving.
The chronicle of the trials, tribulations, and joys of attempting to update a 1930's-era home, affectionately termed "the rat hole" because of its state of disrepair, in Kenmore, Washington.
Sunday, November 20, 2011
Sunday, October 30, 2011
Shed - Part 15: Door Details
I finished trimming a door and installing a lock this weekend. So... other than building the shelving, one unit is done and ready for move-in!
I used aluminum 'L' to trim the edge of the door. This both stiffened the door and protected the edge. Plus it looks nice. I notched the aluminum 'L' at the corners for the first door. I think I'll miter the corners on the other two doors.
What it looks like from the outside.
I installed a dead bolt as the locking mechanism. I put in in the wall instead of putting the lock on the door .
I built a "handle" with the bolt catch in it on the door. I'll probably get around to polyurethaning the wood 'handle' when I'm done with all three doors.
And here are a couple of photos showing the completed door locked up tight.
I used aluminum 'L' to trim the edge of the door. This both stiffened the door and protected the edge. Plus it looks nice. I notched the aluminum 'L' at the corners for the first door. I think I'll miter the corners on the other two doors.
What it looks like from the outside.
I installed a dead bolt as the locking mechanism. I put in in the wall instead of putting the lock on the door .
I built a "handle" with the bolt catch in it on the door. I'll probably get around to polyurethaning the wood 'handle' when I'm done with all three doors.
And here are a couple of photos showing the completed door locked up tight.
Saturday, October 08, 2011
Shed - Part 14: Doors
I was planning on building sliding barn doors for the shed, but I couldn't bring myself to pay for the hardware that I'd need. I instead looked all over the place for some nice big offset hinges. I finally found some that were a decent price. I mounted the doors on the outside of the hinges so I needed to use a spacer to make things fit. I used a big fat washer. It was the exact same thickness as the hinge metal!
The wood I chose to use for the doors is an ACX plywood (A is a good side, C is a not so good side, X is for exterior grade glue). The doors are about three feet by seven feet. I used one of the plywood remnants as a hinge placement template so I could local the hinges on the shed.
After mounting each door, I applied a coat of exterior polyurethane to both faces and the edges. The plywood will eventually turn gray, but I think it will take a while since the doors are on the north side of the shed.
All three doors are on. I have two more coats to apply. I also have to flatten the doors. They've warped just a little bit because of the beautiful PNW autumn humidity. I have a couple of ideas on how I'd like to true them up. Now for the handle and lock hardware.
The wood I chose to use for the doors is an ACX plywood (A is a good side, C is a not so good side, X is for exterior grade glue). The doors are about three feet by seven feet. I used one of the plywood remnants as a hinge placement template so I could local the hinges on the shed.
After mounting each door, I applied a coat of exterior polyurethane to both faces and the edges. The plywood will eventually turn gray, but I think it will take a while since the doors are on the north side of the shed.
All three doors are on. I have two more coats to apply. I also have to flatten the doors. They've warped just a little bit because of the beautiful PNW autumn humidity. I have a couple of ideas on how I'd like to true them up. Now for the handle and lock hardware.
Sunday, October 02, 2011
Blueberry Harvest 2011
We picked all the ripe blueberries last week. It was a meager harvest. They're not it the best location (they need more sunlight), but that will be rectified next season since we're moving them. I think summer's late start didn't help, too. Still, they're our own and they taste really good!
Monday, September 19, 2011
Shed - Part 13: Paint
I painted the shed even though it was windy and rainy this last weekend (not really recommended). The paint brand that I painted the new parts of the house is no longer available so I had to get a match. The matched paint is close (a hair darker). The big square is the original and the small square is the new paint. The brand of paint is available in Canada, but I don't think I'll be driving to Vancouver just for paint.
I'm only painting the north and south wall of the shed right now. The east and west walls will be enclosed so they don't really need paint. One gallon of paint covered the front and back.
Here are some shots of the finished paint job.
My wife and I tried to get our two-year-old to help paint, but he didn't want to wear his painting smock (one of my old T-shirts). He went inside and took a three and a half hour nap instead.
I'm only painting the north and south wall of the shed right now. The east and west walls will be enclosed so they don't really need paint. One gallon of paint covered the front and back.
Here are some shots of the finished paint job.
My wife and I tried to get our two-year-old to help paint, but he didn't want to wear his painting smock (one of my old T-shirts). He went inside and took a three and a half hour nap instead.
Tuesday, September 13, 2011
Shed - Part 12: Glazing, Siding, and Window Unit 3
I got a lot done last weekend (and last night). The roof glazing, the siding, and the window are now all done for unit 3. Hooray! My wife and I have also decided to modify the additional sections on either end. We've decided to forgo the hot tub and enclose the west pad for gardening equipment storage (lawnmower, wheelbarrow, etc.). The east section will still be home for the table saw but will now be enclosed. Both the east and west sections will have bi-fold doors.
The color scheme will be the same as the house (blue with white trim, and natural wood for the doors).
The next steps are to paint the north and south sides of the shed and then install the sliding doors. I suspect I can get my two-year-old to help me paint.
The color scheme will be the same as the house (blue with white trim, and natural wood for the doors).
The next steps are to paint the north and south sides of the shed and then install the sliding doors. I suspect I can get my two-year-old to help me paint.
Tuesday, September 06, 2011
Sunday, August 28, 2011
Shed - Part 10: Siding and Window Unit 2
It has unfortunately taken a while to get back the the shed project. I finally got some time yesterday and today to nail on the siding and install the window.
It's really starting to come along. I hope I can get unit 3 done in less time that unit 2 took. And I've decided to build all three units, then paint, then install the trim and the doors. I found a farm supply store locally that has the hardware for the sliding doors I want to built, too.
Wednesday, August 10, 2011
First Blueberries
The blueberries are beginning to get ripe. Very slowly. The two-year-old has discovered them and has be gently led away since he'll eat the green ones, too. It's very satisfying to see the berries change color since the summer has been so cool and cloudy. We'd thought they'd never get ripe!
Thursday, July 28, 2011
No More Trailer
Notice anything different in the above photo? No trailer! Just sold it today. And, unfortunately, for less than we paid. A lot less. I am not a trailer expert. And I didn't have a lot of time to shop around and learn before making the trailer purchase last October. And while I think I got the best trailer available at the time and for our needs, it had some water damage and leaks that I didn't know about or understand.
I found a buyer that understood the issues and was willing to fix them so I can sleep at night knowing I didn't screw someone over. And now the end of the driveway is empty. Yay!
Monday, July 25, 2011
Shed - Part 9: Rafter Framing and Glazing Unit 2
I finished up the rafter framing and roof glazing on unit 2 this last weekend. Nothing really new or different to report. I did take advantage of the fact that the glazing is a little expandable to accommodate some of the creep that was showing up on the back side in the rafters. I was able add 3/8" to the run of 8 feet which was nice because now unit 3 can start from zero instead of being in the hole.
Subscribe to:
Posts (Atom)